Supports organizing model items using alignment and distribution commands.
Accessing the alignment commands
The commands are accessible in the Align selection... submenu
in the context menu (by right clicking on the schematic), in the Edit menu, and on the
Schematic Editor's toolbar
under the Alignment icon.
The commands are enabled when there is a selection of items of at least two of the
following: Components, Tags, Component Ports, Schematic areas, and/or Schematic comments.
Note: When none of the commands are enabled, the submenu Align selection...
in the context menu won't be available.
Behavior of the alignment commands
Align left
Aligns item selection to the left side of the selected item box.
When run by clicking the right mouse button, the clicked model item will be considered
as a reference and the axis of alignment will be one of the sides of the reference. Otherwise,
the reference will be the left and upper-most item.
Align right
Aligns item selection to the right side of the selected item.
When run by clicking the right mouse button, the clicked model item will be considered
as a reference and the axis of alignment will be one of the sides of the reference. Otherwise,
the reference will be the left and upper-most item.
Align top
Aligns item selection to the upper side of the selected item.
When run by clicking the right mouse button, the clicked model item will be considered
as a reference and the axis of alignment will be one of the sides of the reference. Otherwise,
the reference will be the left and upper-most item.
Align bottom
Aligns item selection to the lower side of the selected item.
When run by clicking the right mouse button, the clicked model item will be considered
as a reference and the axis of alignment will be one of the sides of the reference. Otherwise,
the reference will be the left and upper-most item.
Align center horizontally
Aligns item selection horizontally to the center of the selected item.
When run by clicking the right mouse button, the clicked model item will be considered
as a reference and the axis of alignment will be the center of the reference. Otherwise,
the reference will be the left and upper-most item.
Align center vertically
Aligns item selection vertically to the center of the selected item.
When run by clicking the right mouse button, the clicked model item will be considered
as a reference and the axis of alignment will be the center of the reference. Otherwise,
the reference will be the left and upper-most item.
Distribute horizontally
Spaces the item selection evenly with respect to the centers in the horizontal direction.
The items are not moved in the opposite direction.
Distribute vertically
Spaces the item selection evenly with respect to the centers in the vertical direction.
The items are not moved in the opposite direction.
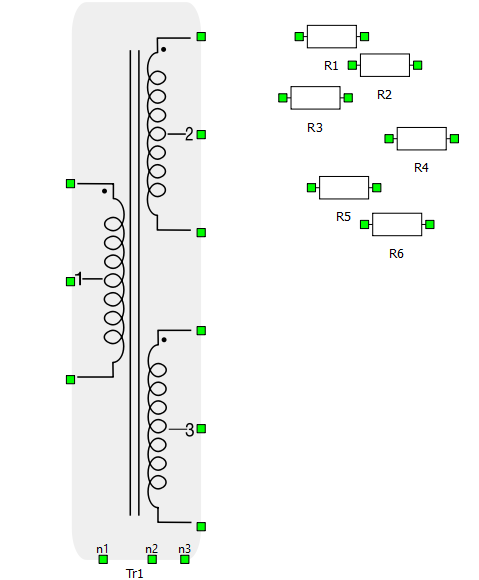
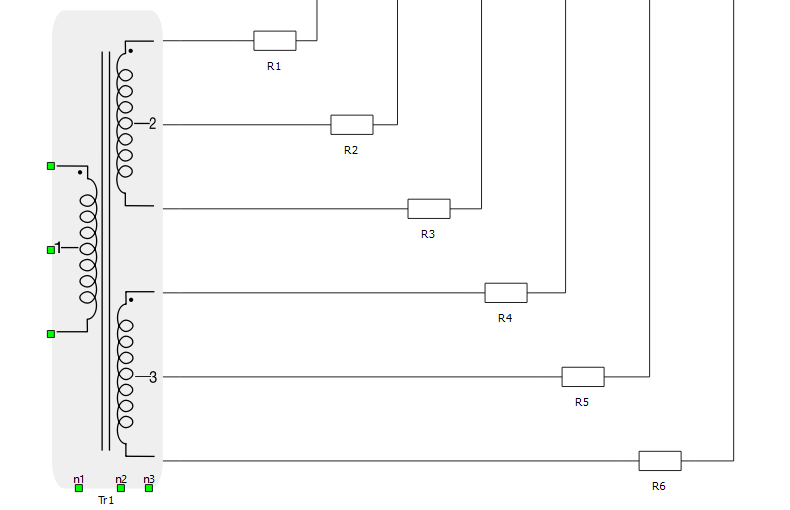
Then, move the Resistor R6 to the bottom to define the breadth of the distribution.
Figure 2. Moving the Resistor
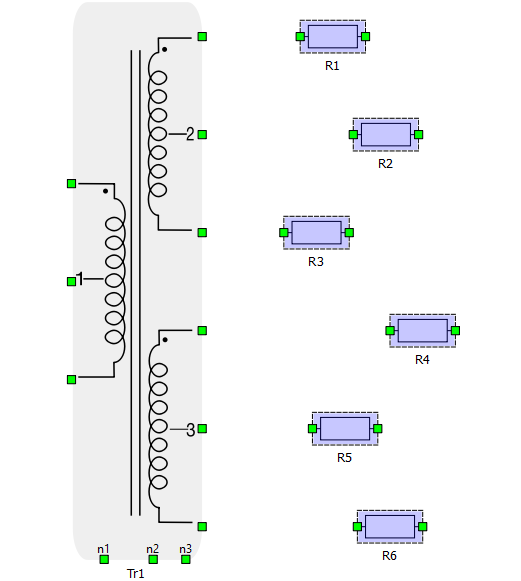
After selecting the six Resistors, use the command Distribute
vertically, which will spread evenly the resistors in the selection.
Notice the horizontal placement does not change, and that the order in the vertical
axis is preserved.
Figure 3. Distributing the Resistors
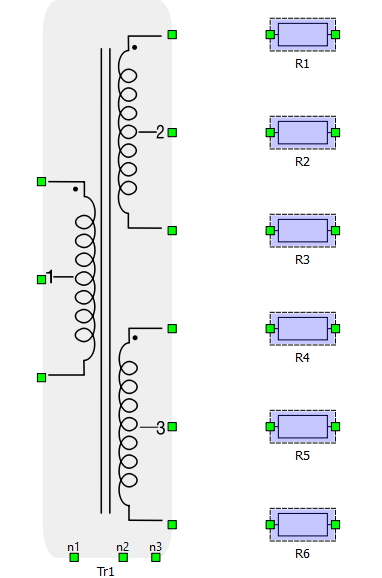
With the same selection, use the command Align center vertically.
Figure 4. Aligning the Resistors vertically
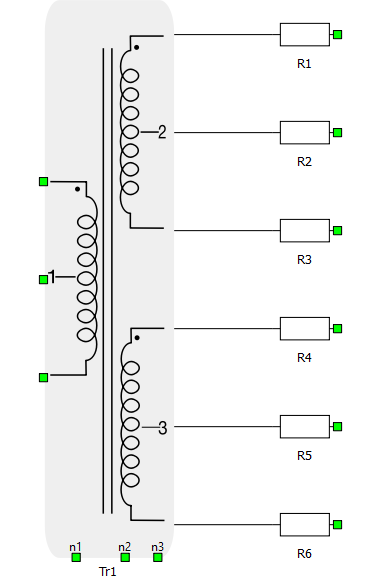
Then, select all items, and use the command Automatically connect
selected items, from the context menu.
Figure 5. Connecting the Resistors to the transformer
If connections should exit orthogonally, move Resistor R6 to the right, then select all the Resistors, and use
the command Distribute horizontally.
Figure 6. Distributing Resistors horizontally