HIL SCADA
Description of the HIL SCADA tool in Typhoon HIL Control Center
Typhoon HIL SCADA is a simple, easy-to-use graphical environment that allows you to create your own specific interface with your real-time model. HIL SCADA is the successor of the widely-used tools HIL Control Panel and Custom UI.
Using HIL SCADA widgets, combined with the strength of Python macro and expression scripts, you can control and observe not only your HIL simulation but also your own external device(s).
The HIL SCADA application has two basic functions:
- it downloads simulation models to the HIL platform, and
- it controls the emulation process, parameters, and outputs.
 icon or in
Panel edit mode by clicking on
icon or in
Panel edit mode by clicking on  icon.
icon.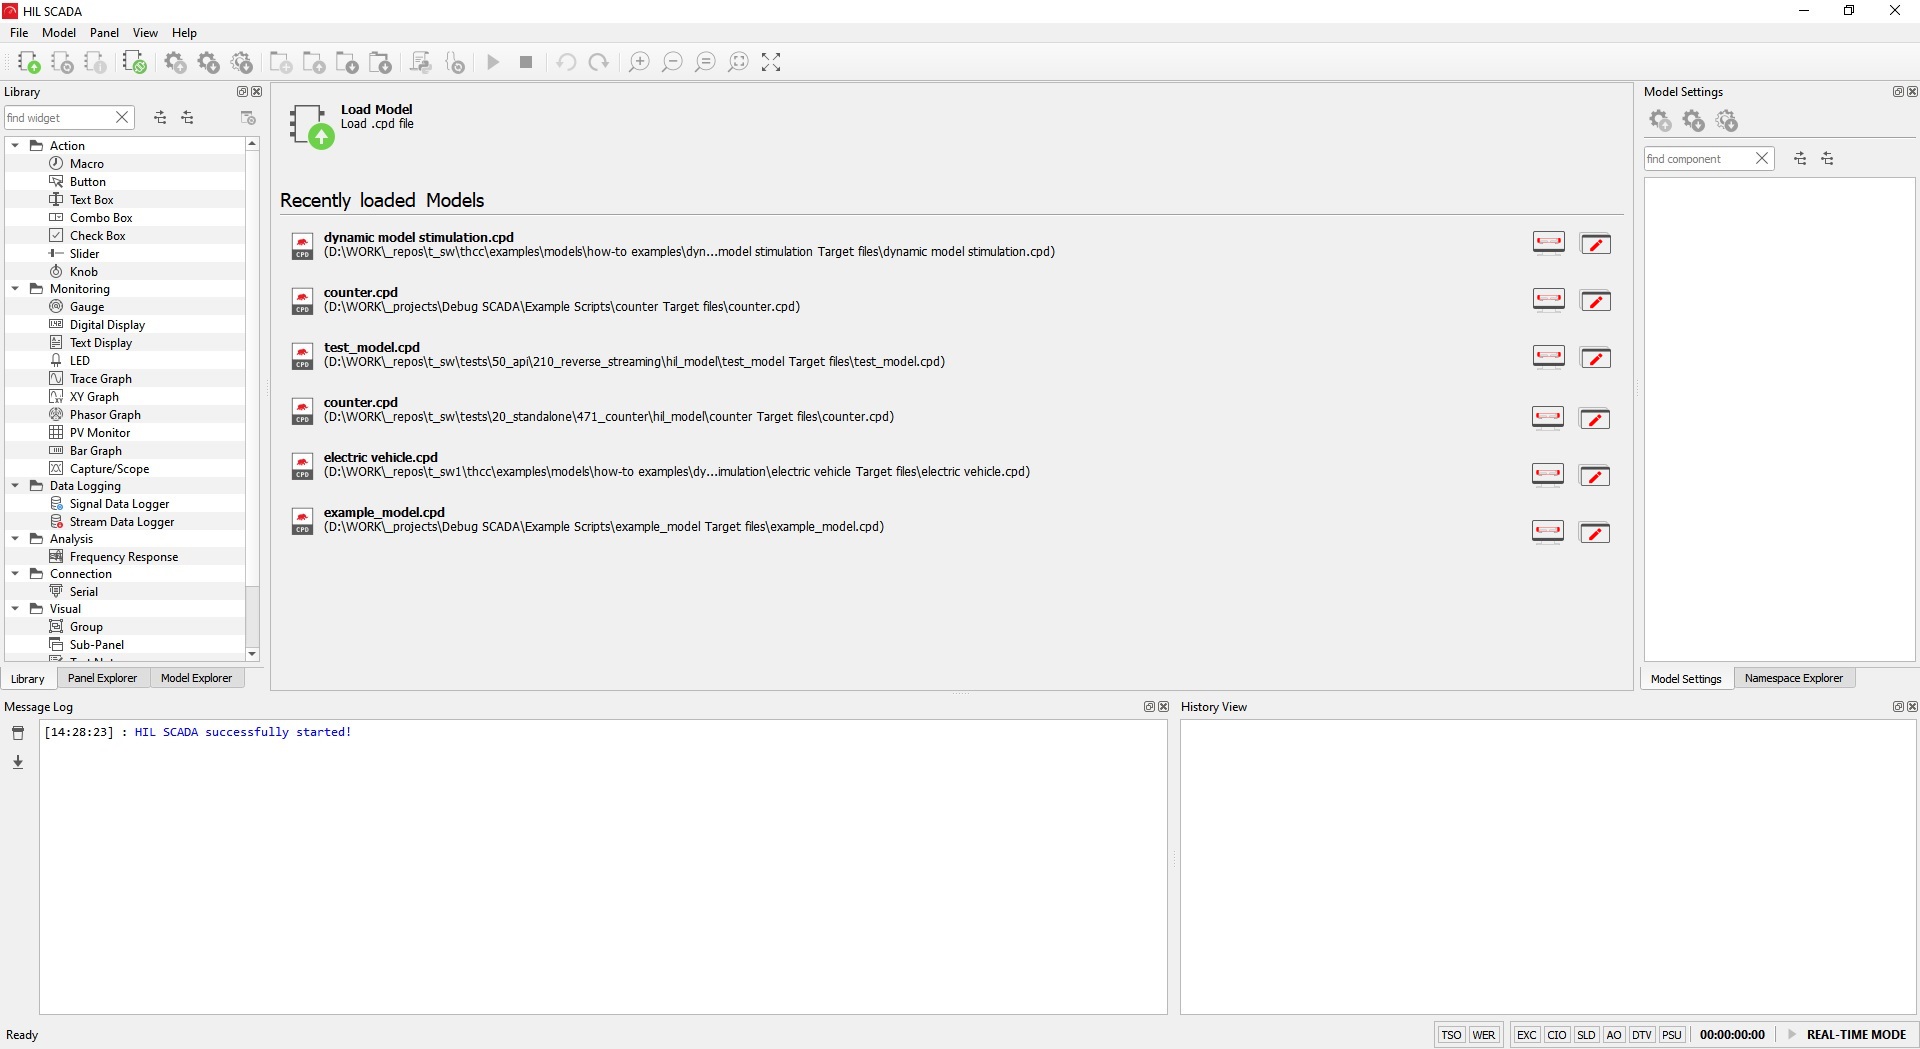
In case HIL SCADA cannot establish a connection with an appropriate HIL device, a connection problem window will pop up (Figure 2).
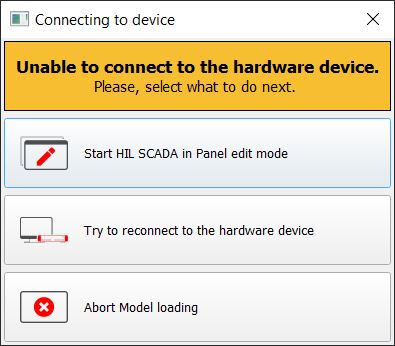
The reasons for the connection error may be:
- the appropriate HIL simulator device is not connected (for example, with the Device Manager tool)
- the appropriate HIL simulator device is turned off
- USB drivers are not properly installed
HIL devices also have a Virtual HIL (or VHIL) option available to them. Virtual HIL is a software module within the Typhoon HIL software toolchain which emulates Typhoon HIL simulator device in non-real time on a PC. Due to the software-based nature of Virtual HIL, there is no external IO support.
In case Virtual HIL is available for the compiled model (Figure 3), that option will also be shown.
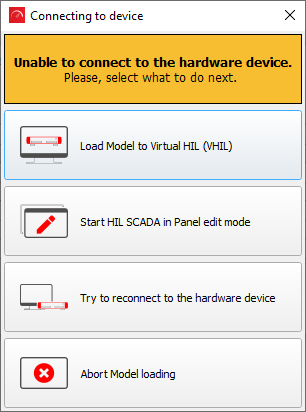
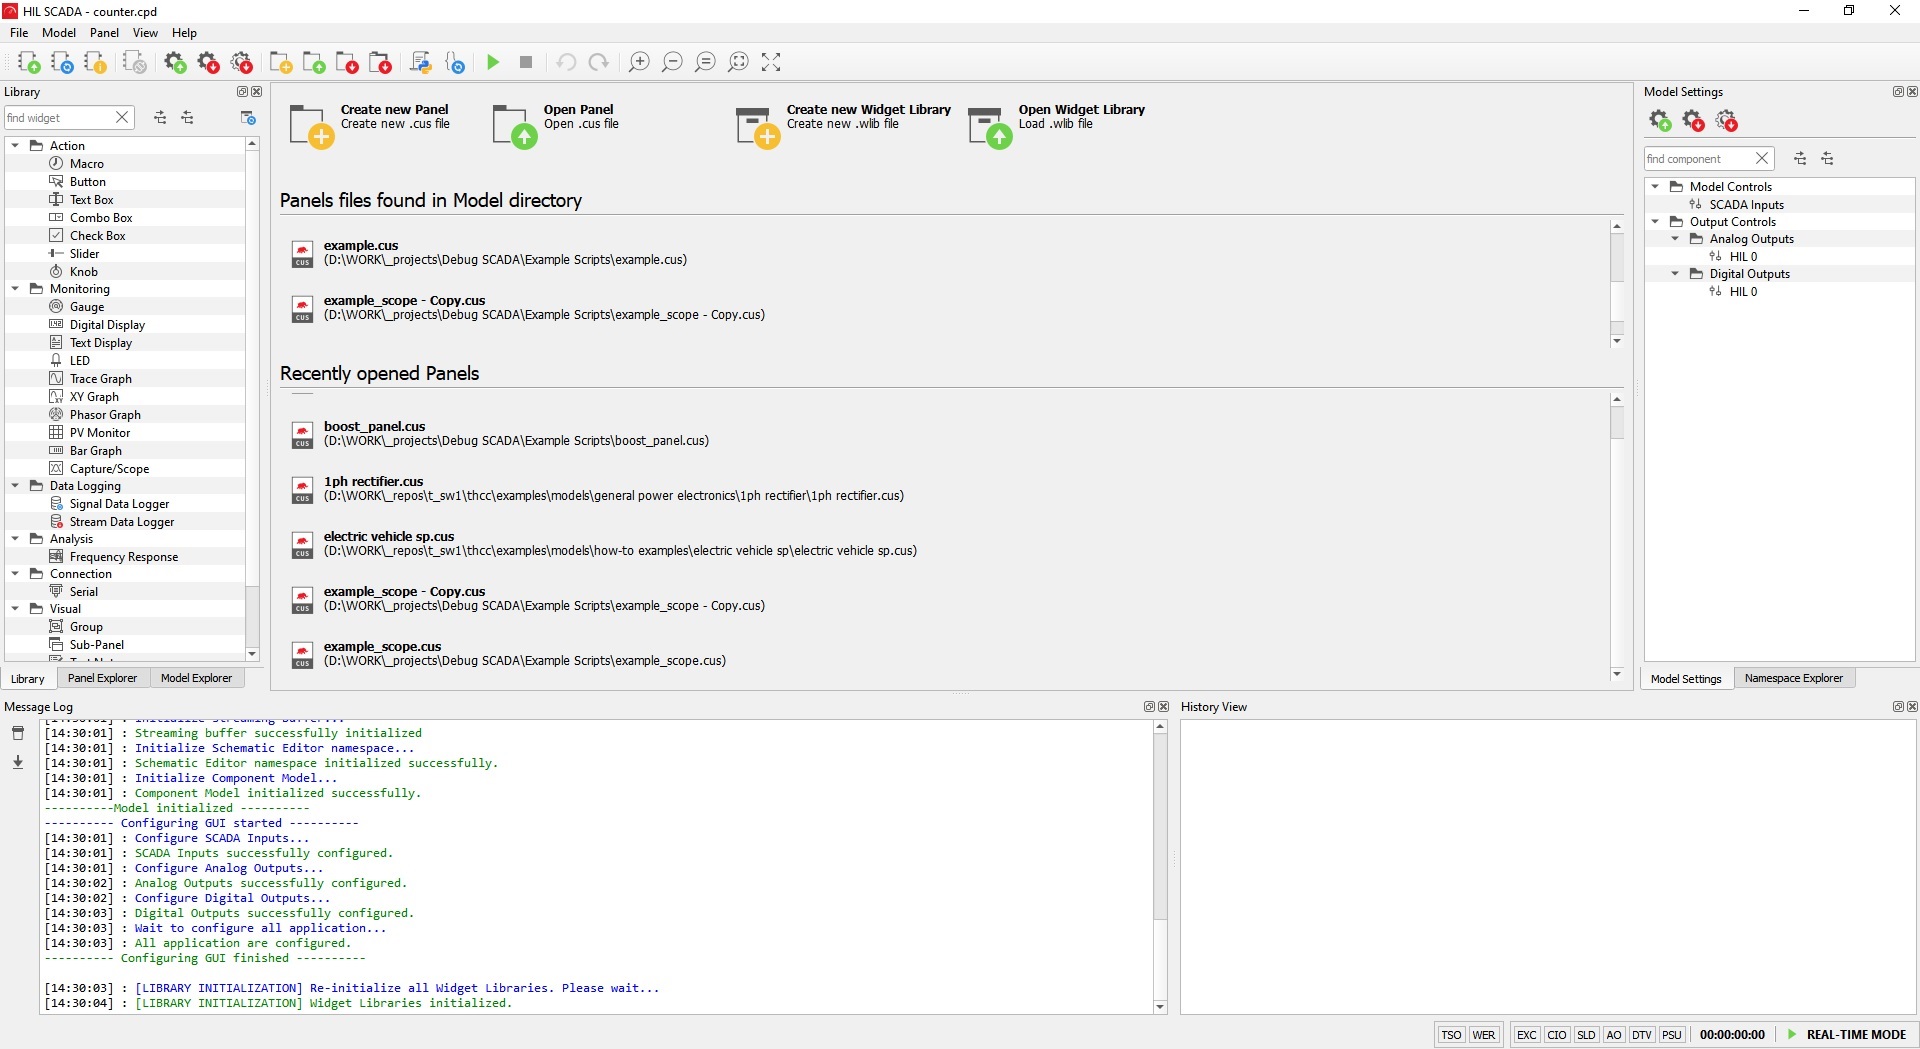
After the Model is loaded, you can load a Panel file that describes the user-specific interface with the real-time model. As is the case for Model files, HIL SCADA will show the recently opened Panel files and all Panel files found in the Model directory (Figure 3).
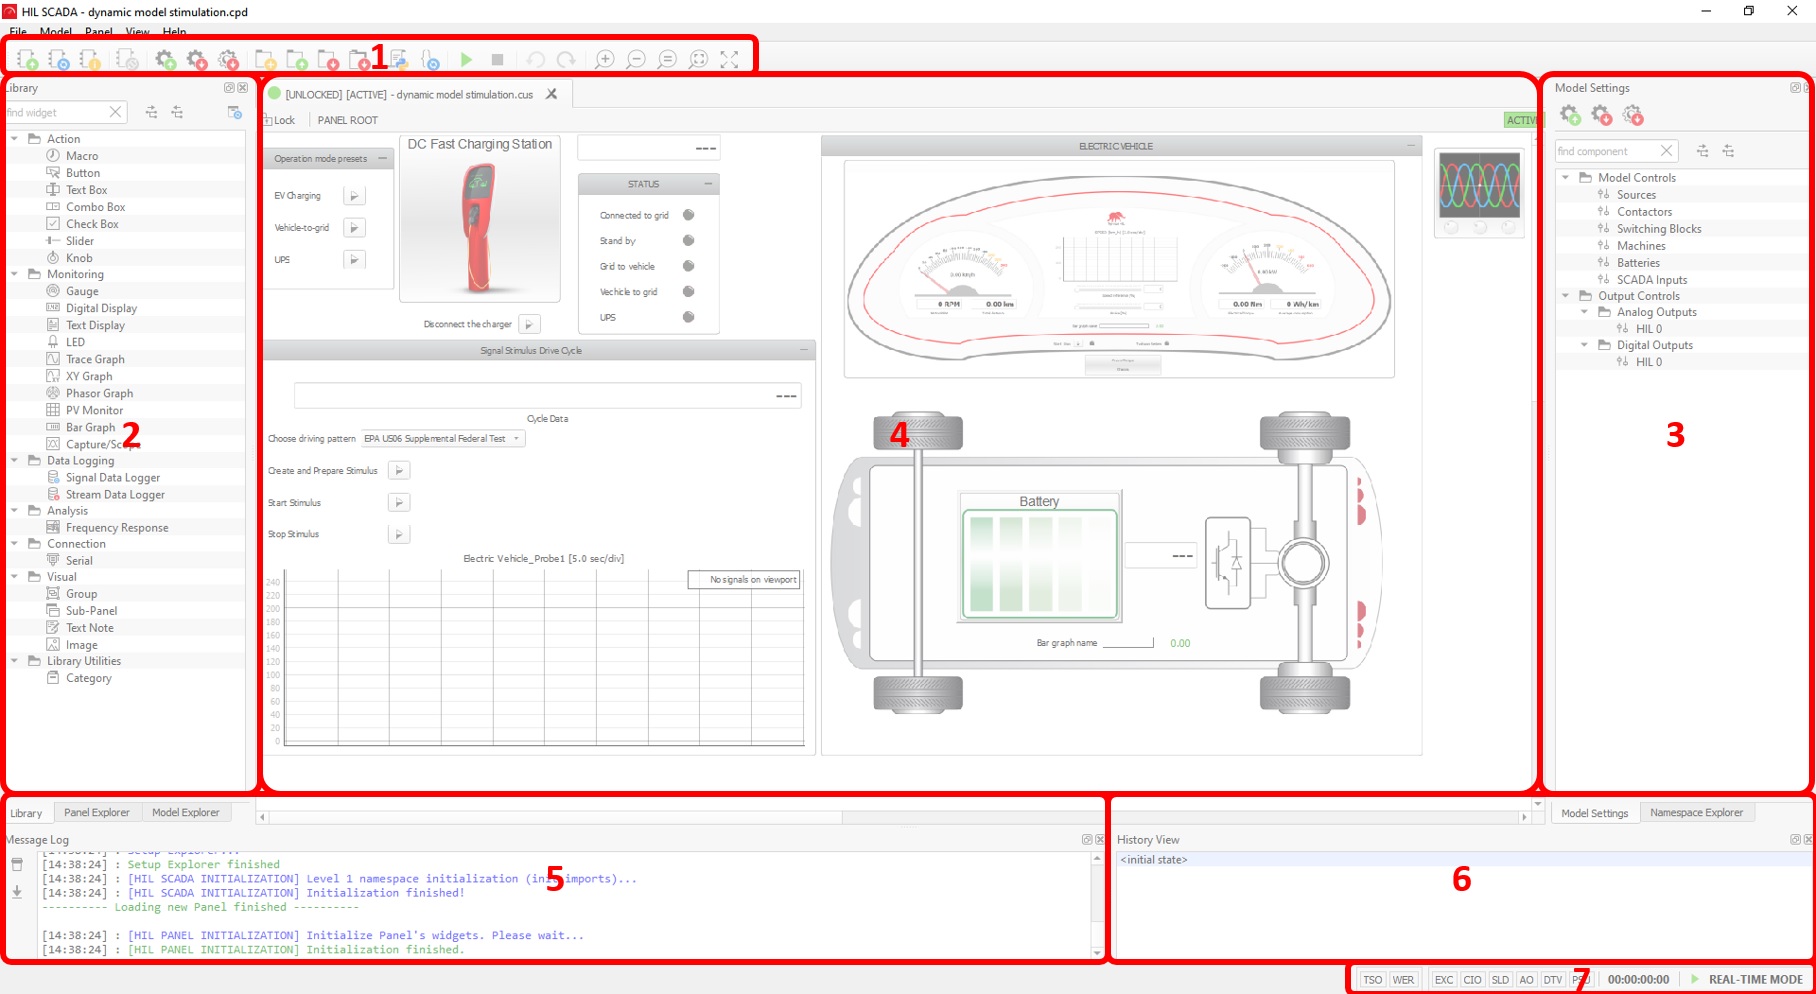
The HIL SCADA user interface is dynamically generated based on the properties of the loaded model. Figure 5 shows the application window with all its elements, numbered for identification.
The window elements are:
- Command Toolbar
- Library Explorer Dock, Panel Explorer Dock, Model Explorer
- Model Settings Dock, Namespace Explorer
- Panel tabs
- Message Log Dock
- History Dock
- Status Bar
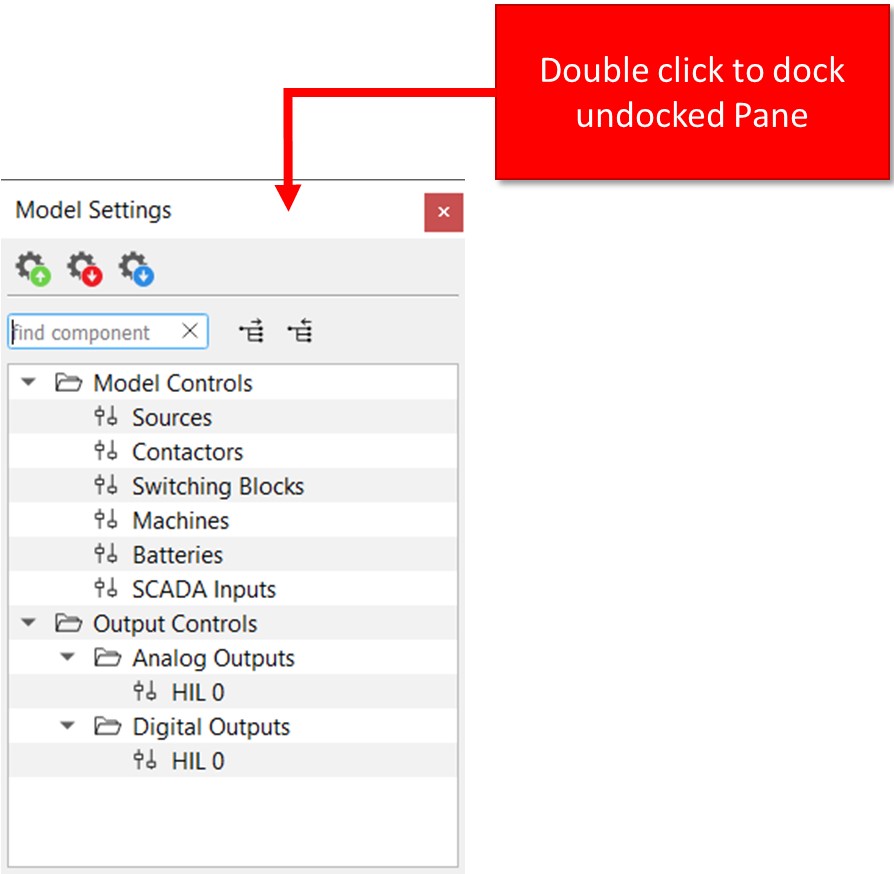
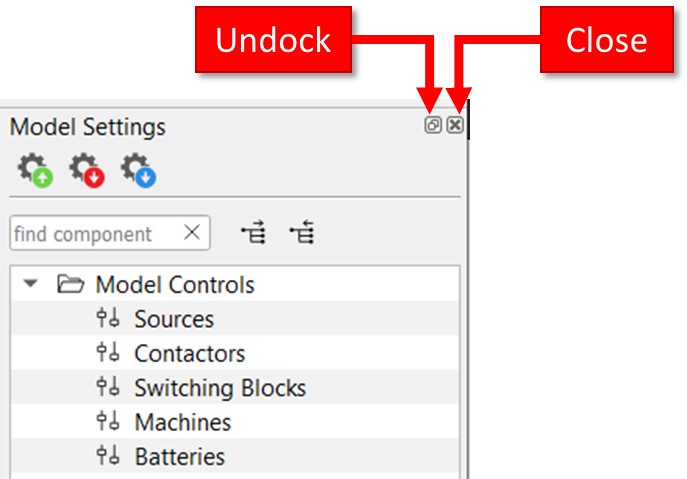
All HIL SCADA docks can undock (i.e. pop-out) and be returned to their initial position. To undock a dock, simply double-click the upper part of the dock frame (or click the appropriate undock button, see Figure 7). To restore an undocked dock to its initial position, simply double-click the frame of the dock (Figure 6).
To put an undocked dock in another position, click the undocked window frame and drag it to the edges of the Panel tabs.
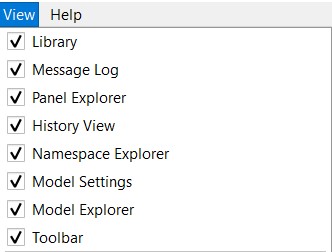
You can also close docks by pressing the close button (Figure 7). Closed docks can be restored by re-enabling them in the View menu (Figure 8)