Creating packages
Overview of the mechanism for creating packages and examples.
Examples and packages can be created by using the Package Manager API or from the GUI.
You can see more information about Package Manager API functions in the Package Manager API documentation.
Creating packages from the GUI can be achieved through the New Package Wizard, accessible from Package actions dropdown.
-
On this page you can enter general package information, like package name, author, version or description. Package name and version are required fields. The Semantic versioning format is used for versioning.
Description supports HTML format. If html tags are used, make sure to use <br> instead of \n.
If a minimal software version is passed, it must be in the "YYYY.Q" format, matching the THCC version. Users with software version older than the passed one will not be able to see, download or install the given package. If left blank, the package will be available for all versions of software.
Figure 1. Page 1 - General package info 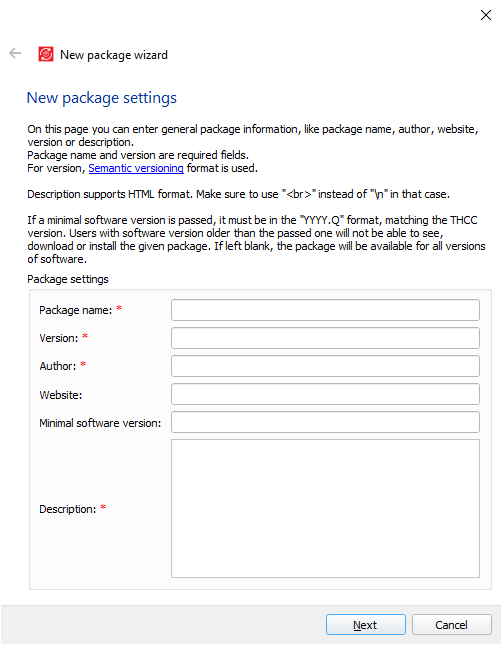
-
On this page you can select existing and create new examples. At least one example must be included in the package. Every example must follow directory structure with models and tests subdirectories.
Figure 2. Page 2 - Package examples 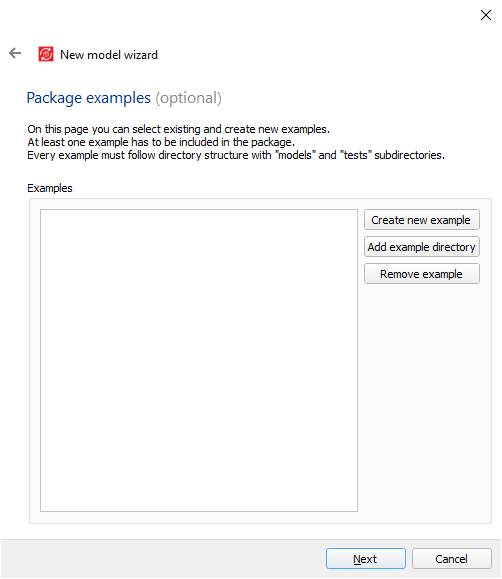
-
On this page you can select the libraries and library resources you want included in the package. For exported libraries, resources are already included in the archive (.atlib) and should not be added separately.
Figure 3. Page 3 - Package libraries 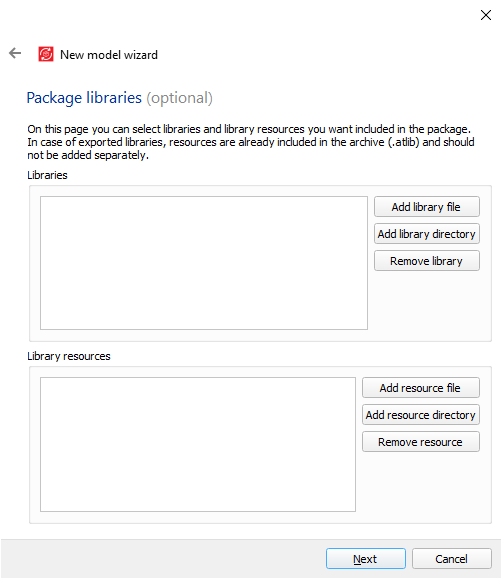
-
On this page you can choose if documentation is single-file or multi-file. For multi-file documentation, you can choose a landing page as well as all documentation files.
Figure 4. Page 4 - Package documentation 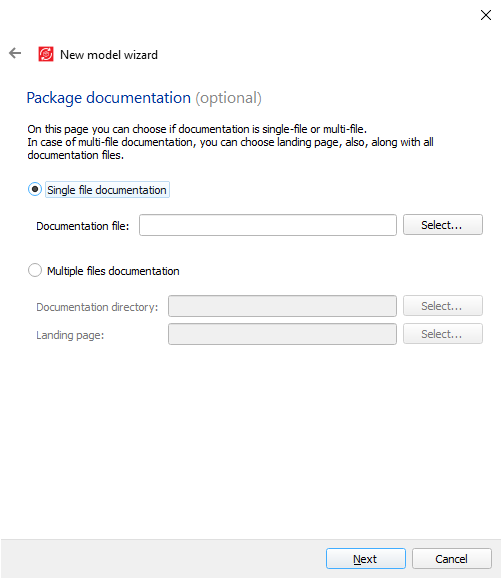
-
On this page you can add Python packages you want included in the environment. Currently, only wheel (.whl) files are supported. You can add them as single files, or as a directory, where all wheel files in that directory will be included, recursively.
Figure 5. Page 5 - Python packages 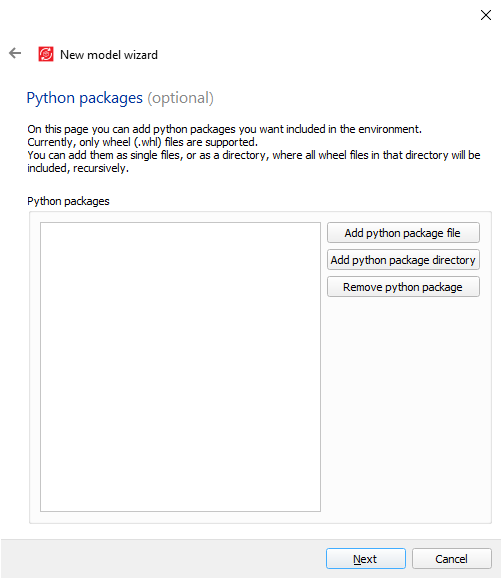
-
On this page you can add additional files you want included in the package. Those files will be accessible by users after the package has been installed.
Figure 6. Page 6 - Additional files 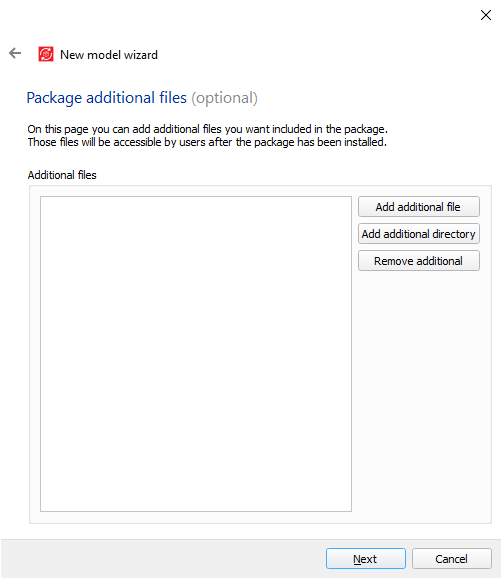
-
On this page you can select a release notes file you want included in the package. That file will be accessible by users when browsing packages and also after the package has been installed. The purpose of a release notes file is to notify users about changes in current version of the package and motivate them to install/update.
Figure 7. Page 7 - Release notes 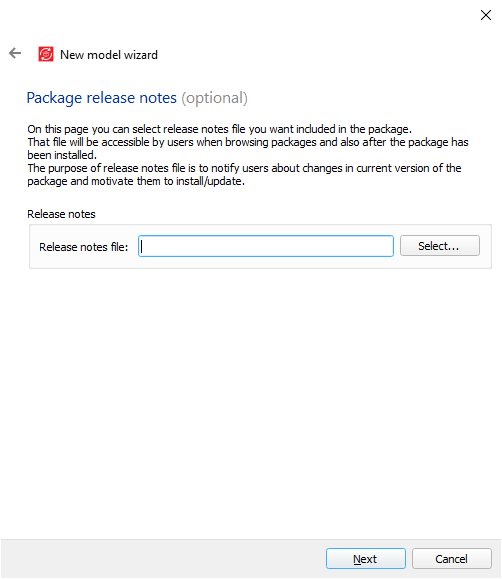
-
On this page you can select an icon file you want included in the package. That file will be visible to users when browsing packages and also after the package has been installed. Icon can be any type of image file (.svg, .png, .jpg, .jpeg, .bpm, etc.)
Figure 8. Page 8 - Icon 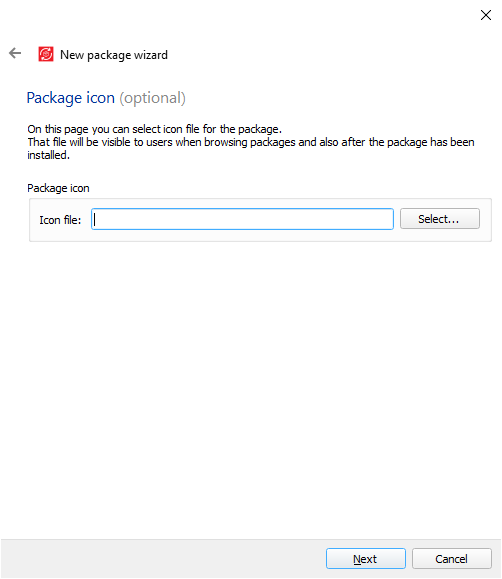
-
On this page you can select the location where you want to save the package.
Figure 9. Page 9 - Output file 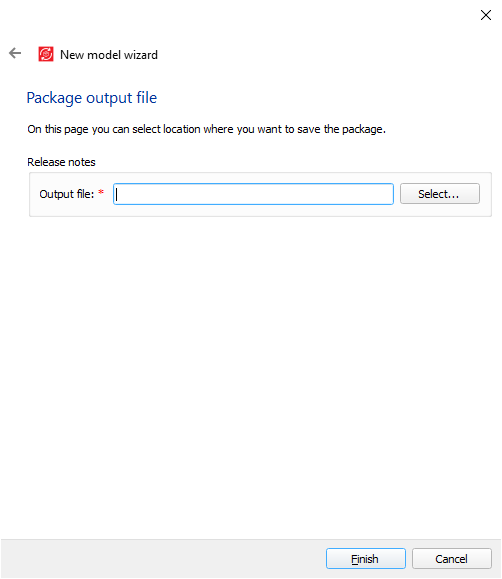
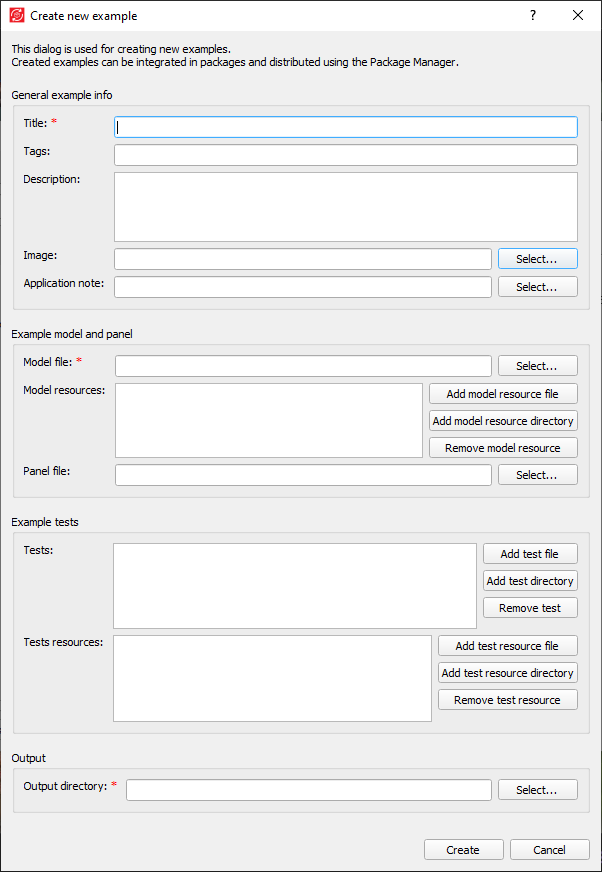
Examples can be created through the New example form, accessible from Figure 2.