Import PSIM Schematic files
This section describes how to successfully import a PSIM model in Typhoon HIL Schematic Editor, what the requirements are, and which components are supported.
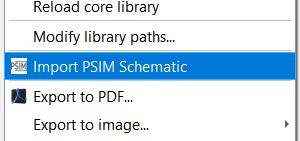
The Import PSIM Schematic files option (Figure 1) imports the power stage part of a PSIM model to a Typhoon HIL Schematic Editor file. The controller part of the PSIM model is not imported. A list of compatible components can be found in PSIM - Typhoon compatible components. In order to successfully load a PSIM file to Schematic Editor, vPSIM12.0.3 or later should be installed with a valid licence file.
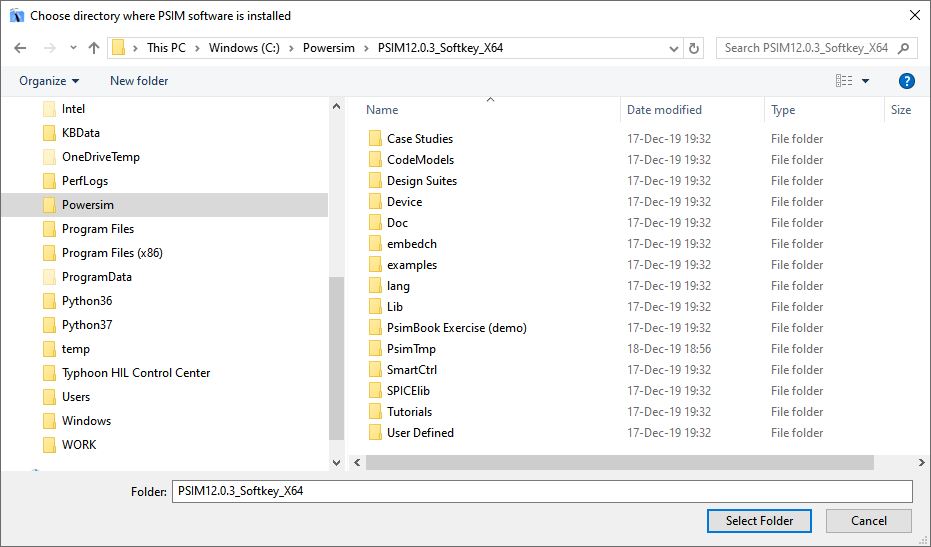
If the Import to PSIM option is used for the first time, a path to the PSIM install folder needs to be selected as shown in Figure 2. Once the folder is selected, the path will be saved by Schematic Editor for future imports.
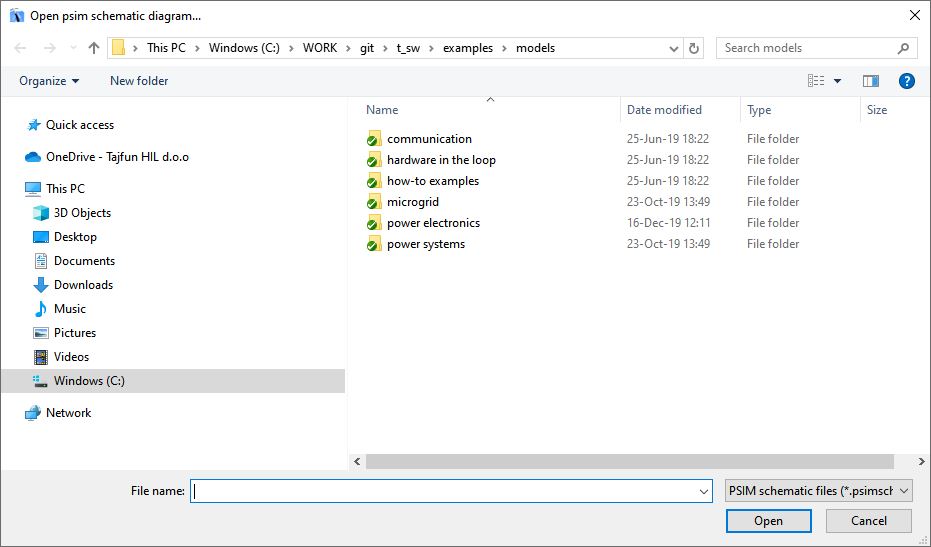
For subsequent imports, the import option is will ask only for a .psimsch file, which is the extension reserved for PSIM schematic files. This is presented in Figure 3.
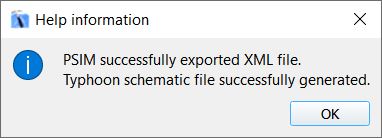
Once the PSIM file is selected, an automatic three step process is started. First, the PSIM software is started in the background and the psimsch file is converted to a xml net-list file. During this step, validation of the PSIM license occurs. Second, the xml file is converted to a Typhoon HIL schematic file with extension tse. Once these two steps are completed, the pop up message shown in Figure 4 will appear. Finally, the imported model can be accessed in Schematic Editor by opening the tse file.
A list of the power stage components that are cross compatible between PSIM and Typhoon HIL are presented in PSIM - Typhoon compatible components